


1. Paint a mandala. You can see from my sign that it is really quite simple to design a mandala. I always prime my record first, so I would suggest you start with a coat of primer to give it a nice even surface to paint on. Usually after you've primed a record, you can still see the marks of concentric circles that exist on a record in the spaces where each song begins and ends. You can use these concentric circles as guidelines for creating your design.
Start in the center and work your way out, turning it as you go (I use a "lazy susan" turntable under my record), and just create patterns using basic shapes, building on each pattern until you reach the edge of the record. Then you can go back and fill in with more shapes, and paint it with acrylic paints.
You can draw your design with a pencil or pen. I recommend not trying to erase much. It's hard to erase pencil marks from the primer, and anyway you need to forget about trying to make it perfect and just do it. Trust me, it will turn out beautiful even if all of your shapes are not exactly the same size and distance apart. My mandalas are insanely imperfect all the time, but it does not matter.
(If you need more instruction or if you are interested in exploring the meaning of mandalas and any spiritual symbolism that you might want to incorporate into your design, here are some links.)
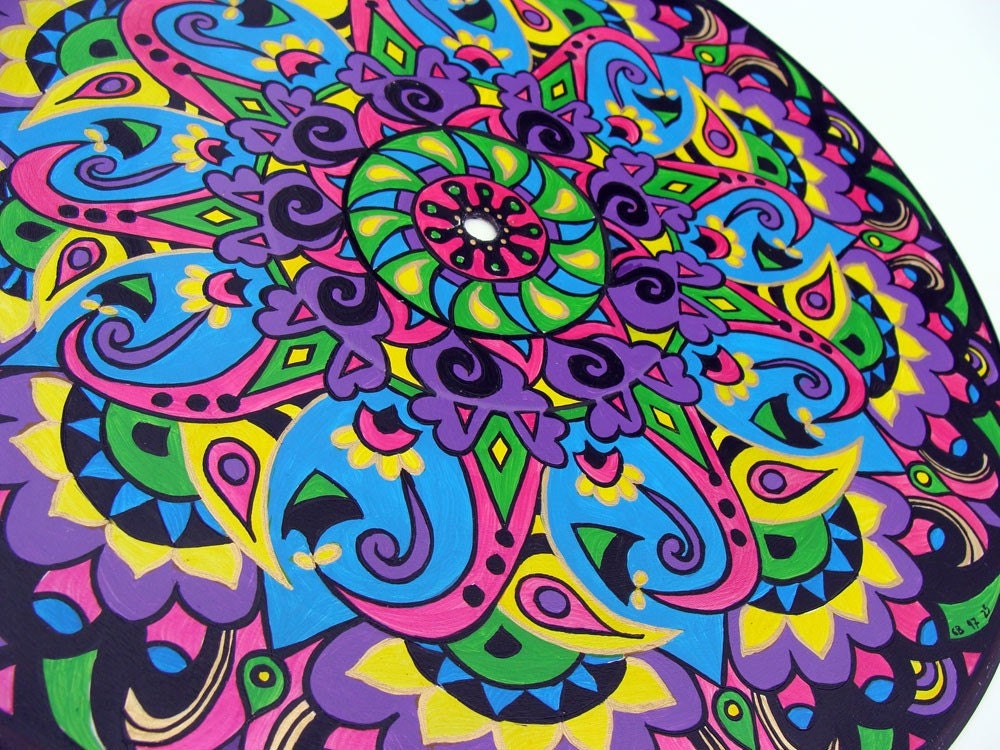
There are two different ways that I create mandalas - the time-consuming way is to draw it, fill in each individual shape with paint, and then go back and outline. That's how I do my complex pieces like this one:
The easier and much faster way is to draw the design with a permanent marker (I like Sharpie Paint Pens) and then paint directly over it. I use blending medium or glazing fluid to create a "wash" of paint that won't dry quite so quickly - then I can blend colors together (I use a fan brush) and the mandala design will still show through the paint. That's how this one was done - I just swirled some cobalt turquoise and phthalo green over my design and blended it together:
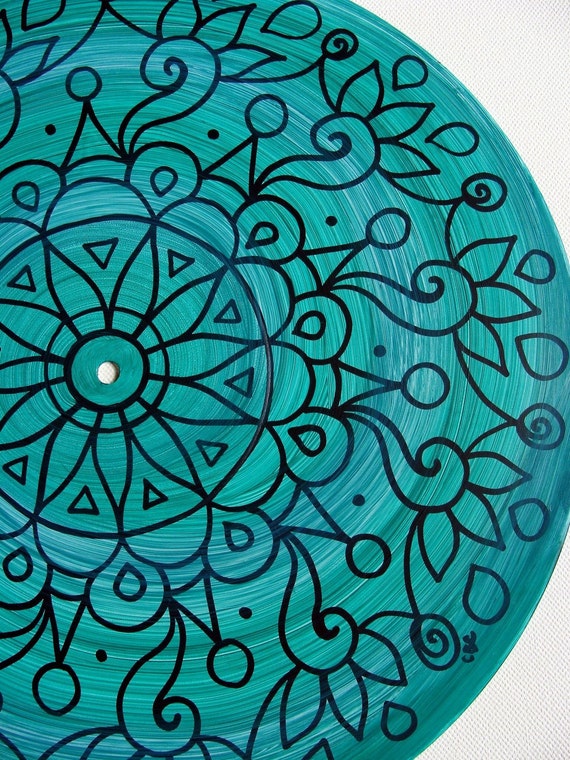
After it dries, you can pick and choose areas that you'd like to go back and highlight by filling them in with an extra punch of color, like I did here:
And that brings me to...
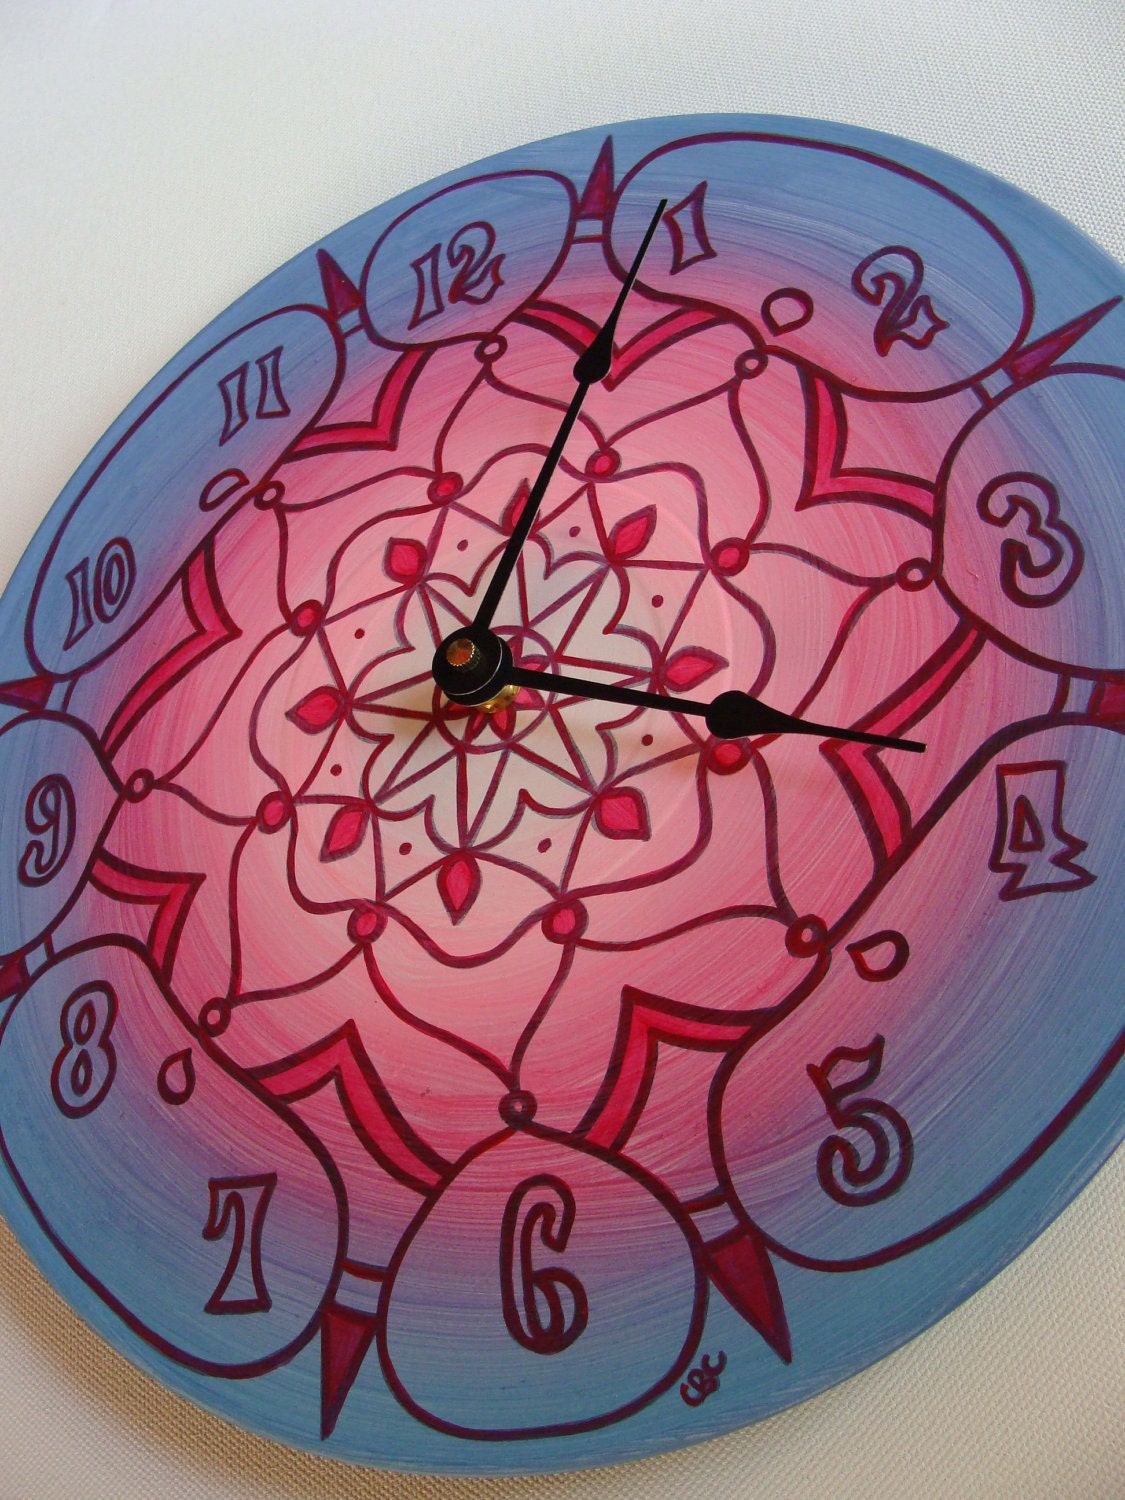
2. Make a mandala clock. Once you've painted a mandala on a record it is very easy to transform it into a functional wall clock! You can purchase single clock movements at craft supply stores such as Michaels. You might need to slightly widen the spindle hole in the record in order for the shaft to fit through it - this can be done easily with an X-acto knife. If you want to have numbers on your clock, you need to make sure they are done properly and correctly spaced. You could use any existing clock face to create your own template, or make your own.
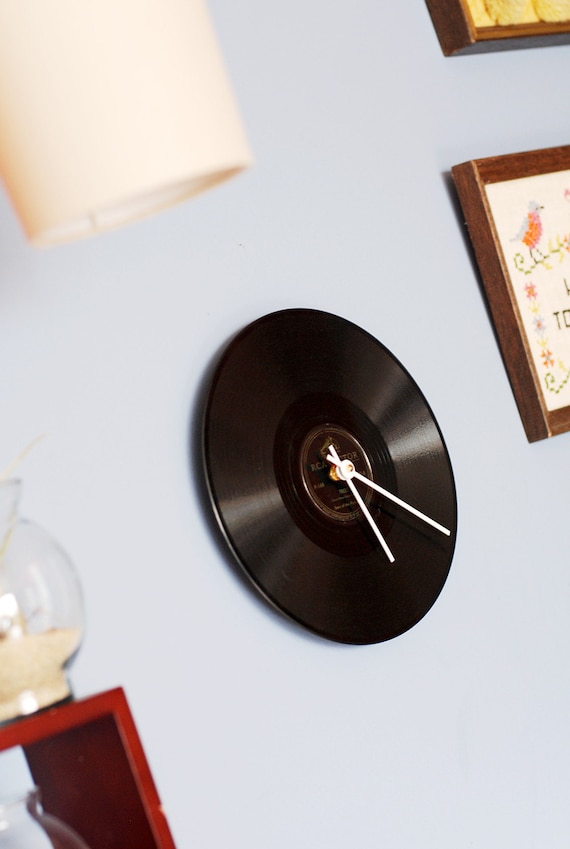
3. Make an unpainted clock.

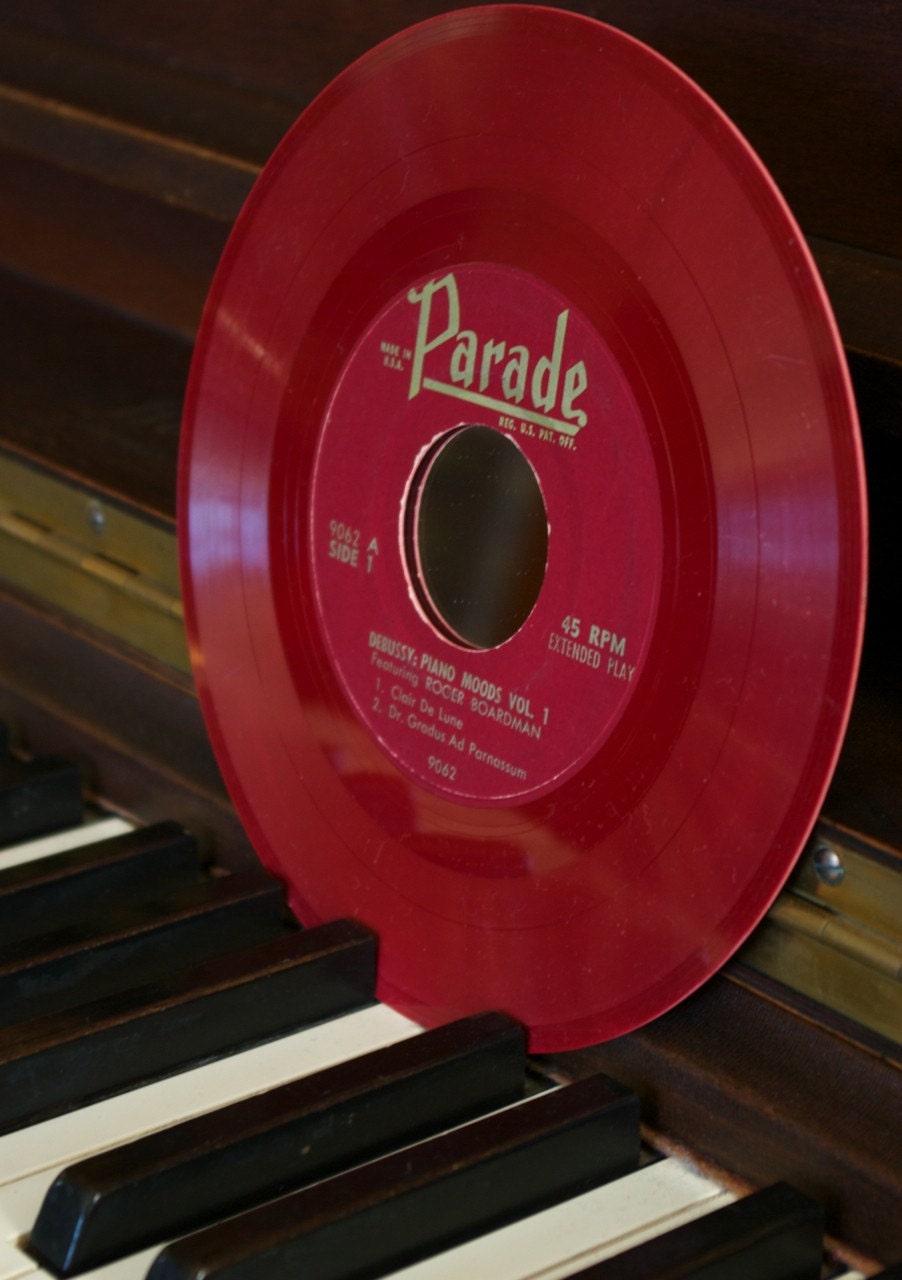
Where to find 78 rpm records? Look around - I have found them in "free boxes" on the side of the road. You can check used record stores, thrift stores, garage sales, ebay, and the attics of any older people you may know.
4. Make a bowl
Here is the incredibly dorky video from my appearance on HGTV's "That's Clever." I am making a Snowman Record Bowl, but you could do anything - a mandala bowl, or just an unpainted record that you want to make into a bowl. In this video, I make the bowl in my oven, but I actually don't do that anymore - I use a heat gun. Please make sure when heating records that you have good ventilation and protect your hands and face. I always wear deerskin gloves and a respirator.
5. Make a cuff bracelet

Record cuffs are super easy to make. Basically, I just chop up the record to create various sizes of vinyl strips which I then heat and shape around a mannequin wrist. Then I sand all the edges.
I can get 8-12 cuffs out of a single record. You can cut a record with heavy duty scissors or a guillotine-style paper cutter. You can even use regular scissors if you just heat the record up a bit before cutting. Experiment with different sizes and shapes. If you don't have a mannequin you could use any sort of cylindrical item like a glass, bottle or can.
Make sure to use a good flexible, newer vinyl record as opposed to an older record that is thicker and less easy to manipulate.
You can see all of my record cuffs here.
Jennifer Perkins of the Naughty Secretary Club has a great record cuff video tutorial here. (She's my crafty hero!)
6. Make a choker


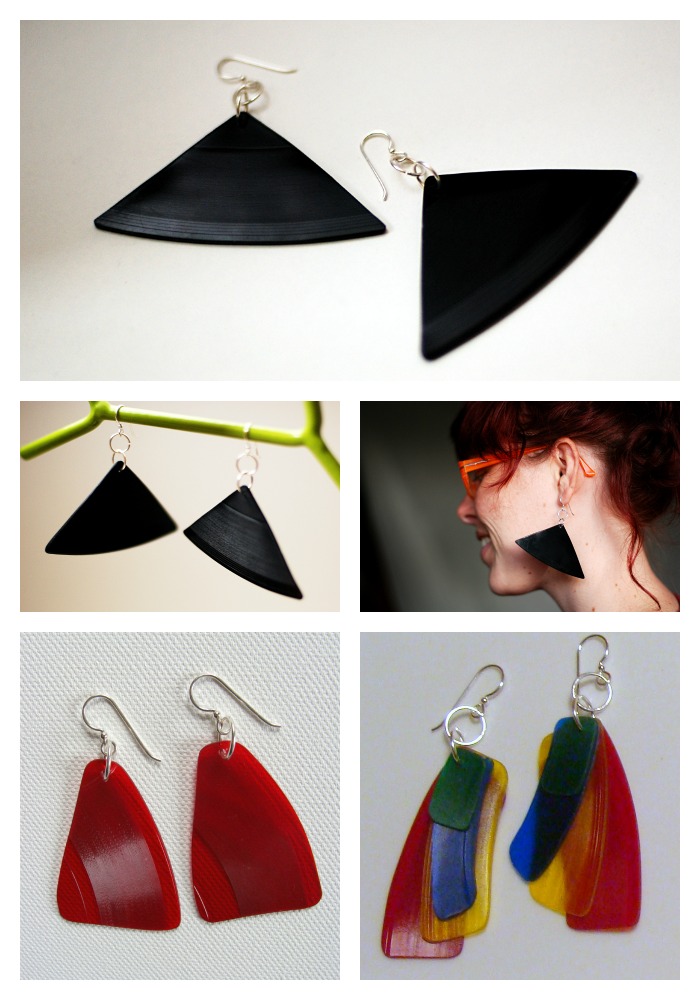
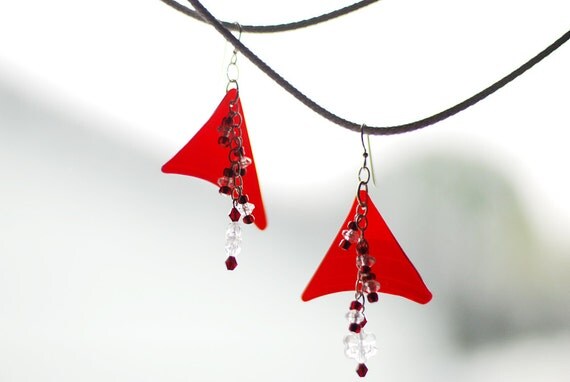
7. Make beads for jewelry making
8. Make a mirror (from a 45 rpm record)
You can also paint your record first. Here are some of my painted mirrors. Mandalas are always great - but a peppermint candy theme is perfect for the holidays!

9. Make a pinwheel for the garden
Okay, this is a bit more complicated but you can probably do it! Just paint your mandala as described above, then use heat to slice into your record and form the "fan blades" (or whatever you want to call them). It will take some practice but it's actually pretty easy. Then stick it on the end of a metal stake and put something on the end to finish it, such as an old radio knob.
You can learn lots more about my Mandala Pinwheels here and here and here. Also, be sure to read the guest blog about the pinwheels that I wrote for Uncommon Goods.
10. Make coasters from the album jacket
One thing about using lots of vinyl records - you end up with a lot of empty album jackets. These can be reused to make all sorts of things such as journal covers, postcards, file folders like this one I got for Chuck, etc. etc. Coasters are easy to make!


Bonus! Here are even more ideas that I found on the web:
- Hang them on the wall
- Make a business card holder
- Make a ring
- Make a room divider
- Make rock 'n' roll party decorations
If you do try out any of these projects, please let me know in the comments. HAVE FUN!


.jpg)
.jpg)
.jpg)
.jpg)
.jpg)
.jpg)
.jpg)
.jpg)
.jpg)
.jpg)
.jpg)
.jpg)
.jpg)
.jpg)
.jpg)
.jpg)
.jpg)
.jpg)
.jpg)
.jpg)
.jpg)
.jpg)
.jpg)
.jpg)
.jpg)
.jpg)